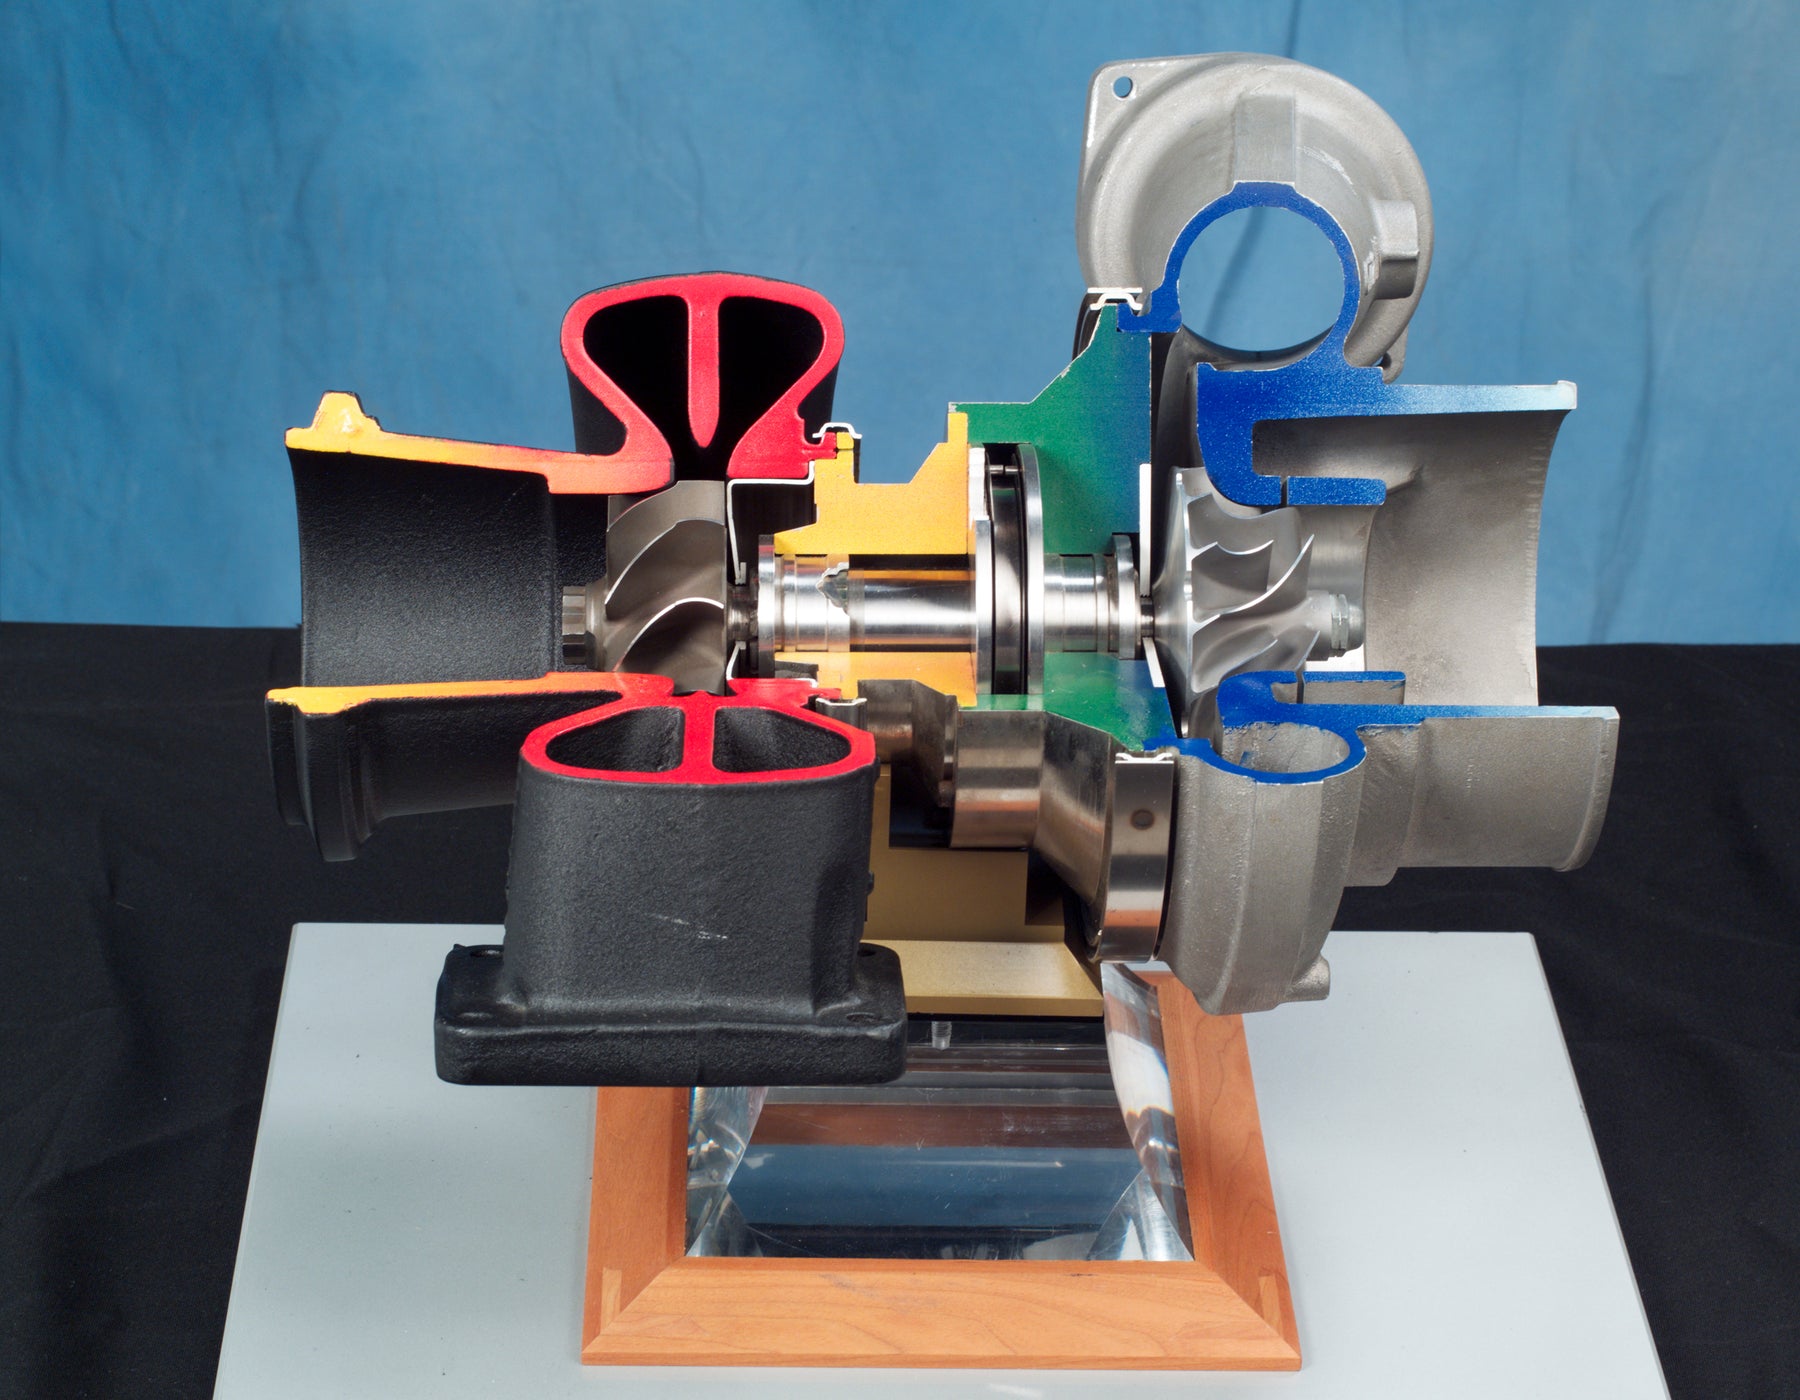
8 Simple Steps to Installing a Turbocharger
1. Inspect the intake and exhaust system leading to and from the turbocharger to ensure absence of foreign material, including burrs and loose lining fragments.
Be thorough - even small particles can cause severe rotor damage if inducted during high-speed operation.
2. Use new and approved gaskets at the various air, oil and exhaust connections to the turbocharger.
Avoid the use of sealing or jointing compounds at all flanged connections.
3. Use high-temperature anti-seize compound (such as Fel-Pro C5A) on all threaded fasteners connected to the turbocharger.
4. Limit drain port tilt to 20º from bottom centre in either direction.
Tilting in excess of this amount can create a low-idle leakage tendency at both the turbine and compressor seals.
5. Fill the oil inlet port to overflowing with clean engine oil before connecting the oil feed hose to the turbocharger.
6. If the clamp tabs or V-band are loosened for angular orientation of the compressor cover or turbine housing, be certain that the mating flanges are tightly resealed, and that the fasteners are retightened to the torque levels specified in the appropriate Turbo Systems manual.
Complete the orientation of the cover and housing before making any rigid connections to the compressor inlet and outlet, or to the turbine outlet; this will make certain that all ducting aligns closely with the turbocharger; this will minimize the external stresses acting on the unit.
7. Before connecting the oil drain hose, crank the engine without firing until a steady stream of oil flows from the drain port.
8. Operate the engine at low idle for at least three minutes after completing the installation of any turbocharger. This will prevent oil starvation damage to the bearing system and will tend to purge any residual contaminants from the bearing housing prior to the unit acceleration.
